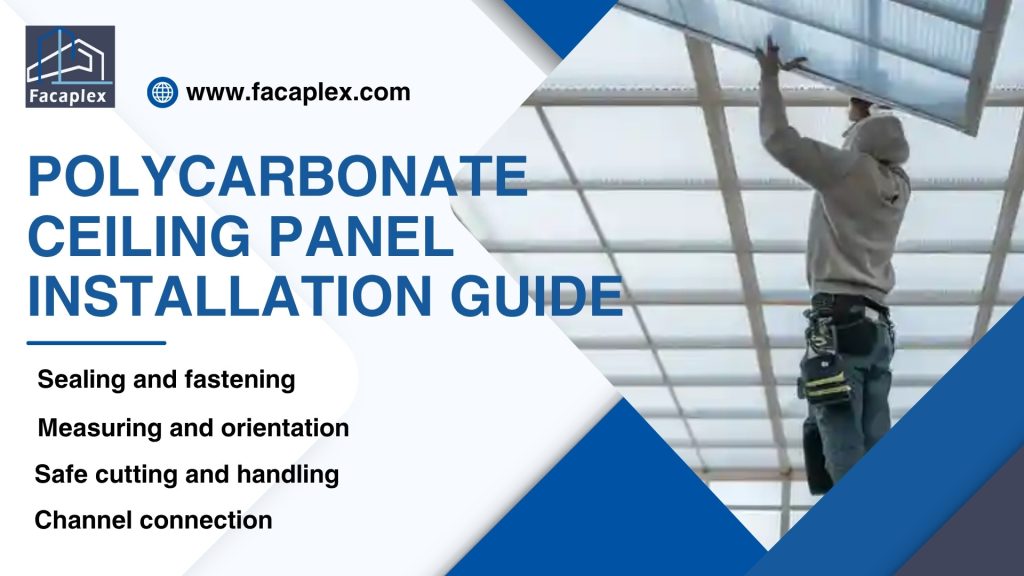
Polycarbonate ceiling panel installation requires a clear sequence for success. Workers should orient each polycarbonate panel correctly and mount it securely.
Proper sealing protects the polycarbonate from water and extends the life of the panel. Following best practices ensures safety and durability. Anyone using this guide can achieve a professional finish with polycarbonate ceiling panel materials.
Preparation for Polycarbonate Ceiling Panel Installation
Tools and Materials
Installers should gather all necessary tools before starting. They need a measuring tape, a fine-tooth saw with a carbide tip, a drill, and safety gear. Gloves and safety glasses protect hands and eyes during cutting and drilling.
Installers should also have galvanized or stainless steel screws with neoprene washers. These fasteners help secure each panel and prevent leaks. A ladder and stepping boards allow safe access to the ceiling area.
Panel Inspection and Storage
Workers must inspect each polycarbonate panel for cracks or defects before use. Damaged panels can weaken the ceiling and reduce its lifespan. Store panels flat in a dry, shaded area to prevent warping. Avoid placing heavy objects on top of the panels. Keep the protective film on until installation to shield the surface from scratches.
Measuring and Planning
Accurate measurement ensures full coverage and reduces waste. Installers should measure the ceiling area and plan the layout. They must check the direction of the flutes or ribs.
The correct orientation allows water to drain and supports the structure. The UV-protected side should face outward to block harmful rays. For best results, set a minimum slope of 7% or about 5 degrees. This slope helps water run off and prevents pooling.
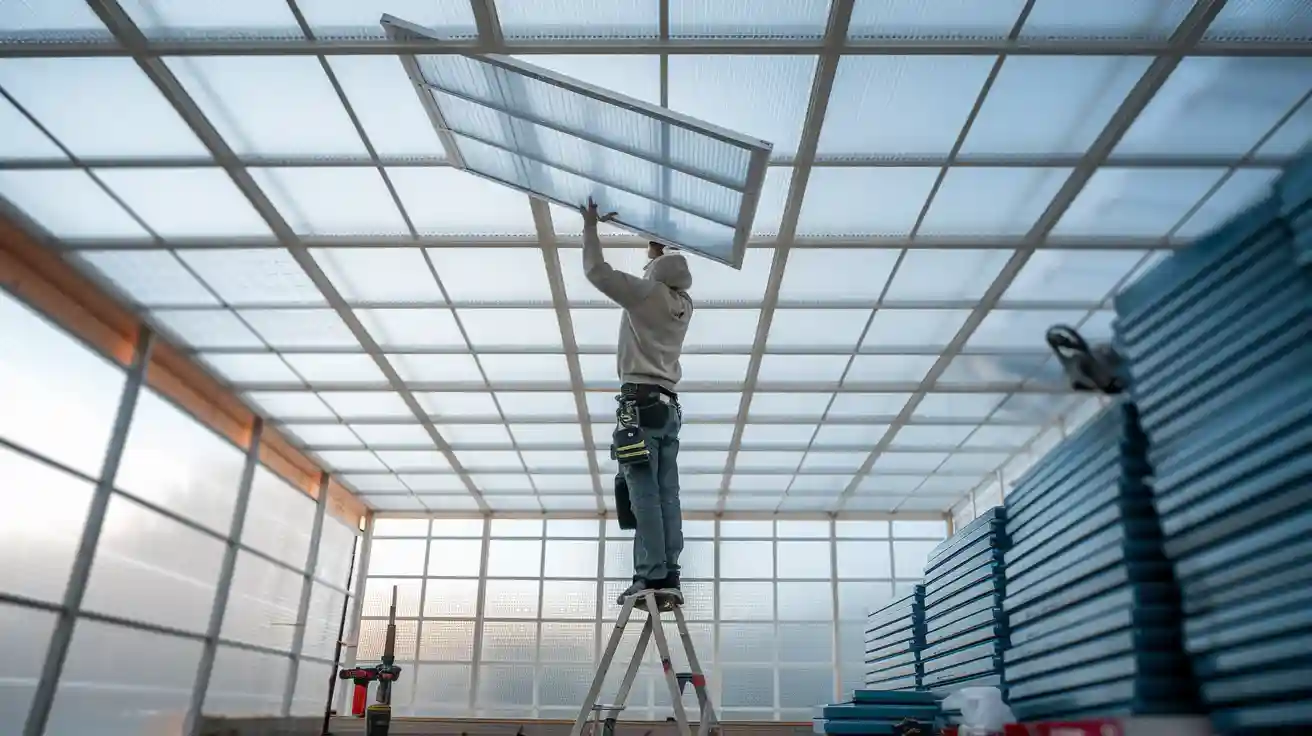
Pre-installation tips include checking for proper orientation and confirming all materials meet code requirements. Workers should handle panels carefully to avoid damage. Never step directly on the panels; use stepping boards for support.
Polycarbonate Installation Steps
Cutting Panels
Installers should use a fine-tooth saw with a carbide tip for cutting polycarbonate. This tool creates clean edges and reduces the risk of cracks.
They should measure each panel twice before cutting to ensure accuracy. Marking the cut line with a non-permanent marker helps guide the saw.
Cutting slowly prevents chipping and keeps the panel stable. Workers should always wear safety glasses and gloves during this step.
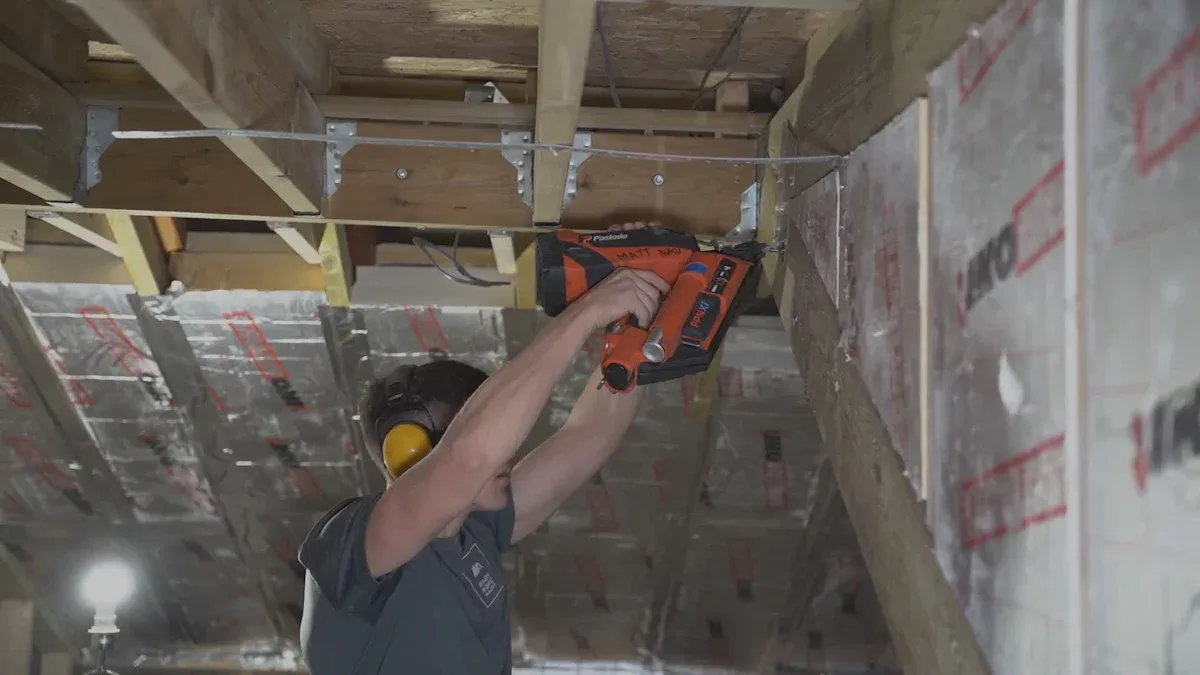
Pre-Drilling and Fastening
Polycarbonate expands and contracts with temperature changes. Installers must pre-drill holes slightly larger than the fasteners to allow for this movement.
They should use a drill bit that is 1-2 mm wider than the screw diameter. This prevents stress on the panel during polycarbonate installation.
Installers should use galvanized or stainless steel screws with neoprene washers. These fasteners create a watertight seal and prevent leaks.
Screws should be placed at least 2 inches from the edge of the panel to avoid cracking. Workers should not overtighten the screws, as this can damage the polycarbonate.
| Fastener Type | Washer Type | Placement Distance |
|---|---|---|
| Galvanized/ Stainless | Neoprene | 2 inches from edge |
Handling and Safety
Workers should never step directly on polycarbonate panels. The material can flex and crack under concentrated weight.
Stepping boards or planks spread the load and protect the panel during polycarbonate sheets installation.
Installers should keep the protective film on the panels until the final stage of installation. This film shields the surface from scratches and dust.
Proper lifting techniques reduce the risk of bending or damaging the polycarbonate. Two people should carry large panels to maintain control and safety.
Install Multi-Wall Polycarbonate Panels
Using H-Channels and U-Channels
Installers use H-channels and U-channels to connect and finish multi-wall polycarbonate panels. H-channels join the long edges of each panel, creating a tight seal and supporting the structure.
U-channels cap the open ends of the multi-wall panels, protecting the flutes from dust and moisture. These polycarbonate profiles help prevent water from entering the panel and keep the ceiling clean.
Workers should slide the H-channel onto the edge of one panel, then fit the next panel into the other side. U-channels fit snugly over the ends, giving a neat finish and extra protection.
Securing to Framing
Installers must secure each multi-wall polycarbonate panel to the framing with the correct fasteners. They should use screws with neoprene washers to create a watertight seal.
Each panel needs support along its length to prevent sagging. Workers should place fasteners through the panel and into the framing, keeping a distance of at least 2 inches from the edge.
This method helps avoid cracks and keeps the polycarbonate stable. Proper spacing between fasteners allows for expansion and contraction of the multi-wall material.
Closure Strips and Connectors
Closure strips and connectors play a key role in sealing the ceiling. Closure strips fit under the panels, matching the shape of the multi-wall flutes. These strips block insects, dust, and water from entering the panel ends.
Workers should install closure strips at both the top and bottom edges for best results. Connectors, such as ridge caps and wall connectors, cover the joints where panels meet walls or roof peaks.
These parts improve water resistance and give the ceiling a finished look. Using the right connectors ensures the installation stays strong and leak-free.
By following these steps, installers can successfully install multi-wall polycarbonate panels. Using the correct polycarbonate profiles and sealing methods helps protect the ceiling from leaks and damage.
Sealing and Finishing
Taping Panel Ends
Installers should tape the open ends of each polycarbonate panel before sealing. This step keeps dust, insects, and moisture out of the flutes.
Specialized breather tape works best for multi-wall panels because it allows air to move while blocking water. Workers must press the tape firmly to create a tight seal.
Applying Sealants
Sealants help protect the ceiling from leaks. Workers should apply a high-quality, UV-resistant sealant along all joints and edges. They must focus on the seams where one panel meets another. A continuous bead of sealant stops water from entering the ceiling structure.
Installers should smooth the sealant with a tool or gloved finger for a neat finish.
- Use only sealants approved for polycarbonate.
- Avoid using silicone that contains solvents, as it can harm the material.
Final Inspection
A careful inspection ensures a long-lasting installation. Workers should check every panel for gaps, loose fasteners, or missed sealant spots. They must confirm that all tape and sealant have formed a complete barrier.
A well-sealed polycarbonate ceiling resists water and stays clear for years. Regular checks help maintain the quality of the installation.
Polycarbonate Ceiling Panel Maintenance
Cleaning Tips
Regular cleaning keeps polycarbonate panels clear and bright. Use a soft sponge or cloth with mild soap and lukewarm water.
Avoid harsh chemicals or abrasive pads, as these can scratch the surface. Rinse the panel with clean water to remove any soap residue.
A gentle spray from a garden hose works well for removing dust and dirt. For stubborn spots, let the soapy water sit for a few minutes before wiping.
Never use high-pressure washers, as they may damage the polycarbonate.
Damage Prevention
Proper care extends the life of a polycarbonate ceiling panel. Inspect the ceiling regularly for loose fasteners or signs of wear.
Tighten any screws that have become loose, but do not overtighten.
Keep sharp objects away from the polycarbonate to avoid scratches. Trim nearby tree branches so they do not touch the panel.
If a panel shows cracks or deep scratches, replace it quickly to maintain the ceiling’s strength and appearance.
Troubleshooting Polycarbonate Installation
Common Issues
Many installers notice leaks after heavy rain. Some panels show signs of sagging or warping over time. Fasteners may loosen, causing rattling noises during wind.
Sometimes, condensation forms inside the flutes of a panel. Workers may also see yellowing or cloudiness on the surface. Gaps at joints or edges can let in dust or insects.
Solutions
To fix leaks, workers should check all sealant lines and reapply where gaps appear. They must tighten loose fasteners but avoid overtightening. If a panel sags, they should add extra support under the affected area.
For condensation, installers can replace old breather tape at the panel ends. Cleaning yellowed or cloudy surfaces with mild soap and water often restores clarity. Workers should install new closure strips if gaps allow pests or debris inside.
| Issue | Solution |
|---|---|
| Leaks | Reseal joints and edges |
| Sagging | Add support to framing |
| Loose fasteners | Tighten or replace screws |
| Condensation | Replace breather tape |
| Yellowing | Clean with mild soap and water |
| Gaps | Install new closure strips |
Conclusion
A successful polycarbonate ceiling panel installation starts with careful preparation and accurate measurement. Installers achieve the best results by following correct panel orientation, using secure fasteners, and sealing all joints. Safety guidelines and manufacturer instructions help prevent mistakes.
For complex projects or when building a diy pergola roof, professional advice ensures lasting quality. A well-installed polycarbonate ceiling provides durability and clear light for years.